Welcome to the JBL Charge 4 world! If you’ve recently acquired this powerhouse of a portable speaker, you’re likely eager to unlock all its potential. The JBL Charge 4 is renowned for its outstanding sound quality, extended battery life, and rugged design, but those numerous buttons can be a bit intimidating at first, right? Fear not, we’re here to help.
In this guide, we’ll delve deep into the functions of each button on the JBL Charge 4. By the end, you’ll be a master of your speaker, knowing precisely what each button does, how to use them effectively, and how to enhance your overall audio experience. Ready to become a JBL Charge 4 expert? Let’s dive in!
Getting to Know Your JBL Charge 4: An Overview
Before we get into the specifics of the buttons, let’s briefly touch on what makes the JBL Charge 4 so popular. This speaker is a favorite among music enthusiasts due to its superior sound quality, long battery life, and robust design. It’s waterproof, durable, and offers an impressive 20 hours of playtime. Whether you’re hosting a beach party, chilling at home, or enjoying a backyard BBQ, the JBL Charge 4 is your ideal companion.
But to truly take advantage of its capabilities, you need to understand its controls. So, let’s break down each button and see how it can elevate your audio experience.
The Power Button: Turning On the Magic
Where to Find It?
The power button is your gateway to the JBL Charge 4 experience. It’s located on the top panel of the speaker and is marked with the universal power symbol (a circle with a line through the top).
How to Use It
- Turning On: Press and hold the power button for about 2 seconds. You’ll hear a chime, and the LED indicator will light up, signaling that the speaker is on.
- Turning Off: Press and hold the power button again for 2 seconds. The LED indicator will turn off, and you’ll hear a chime indicating the speaker is off.
Tips for Power Management
- Battery Status: Quickly tap the power button to check the battery level. The LED lights will show the remaining charge.
- Auto-Off Feature: To save battery, the JBL Charge 4 automatically powers off after 10 minutes of inactivity.
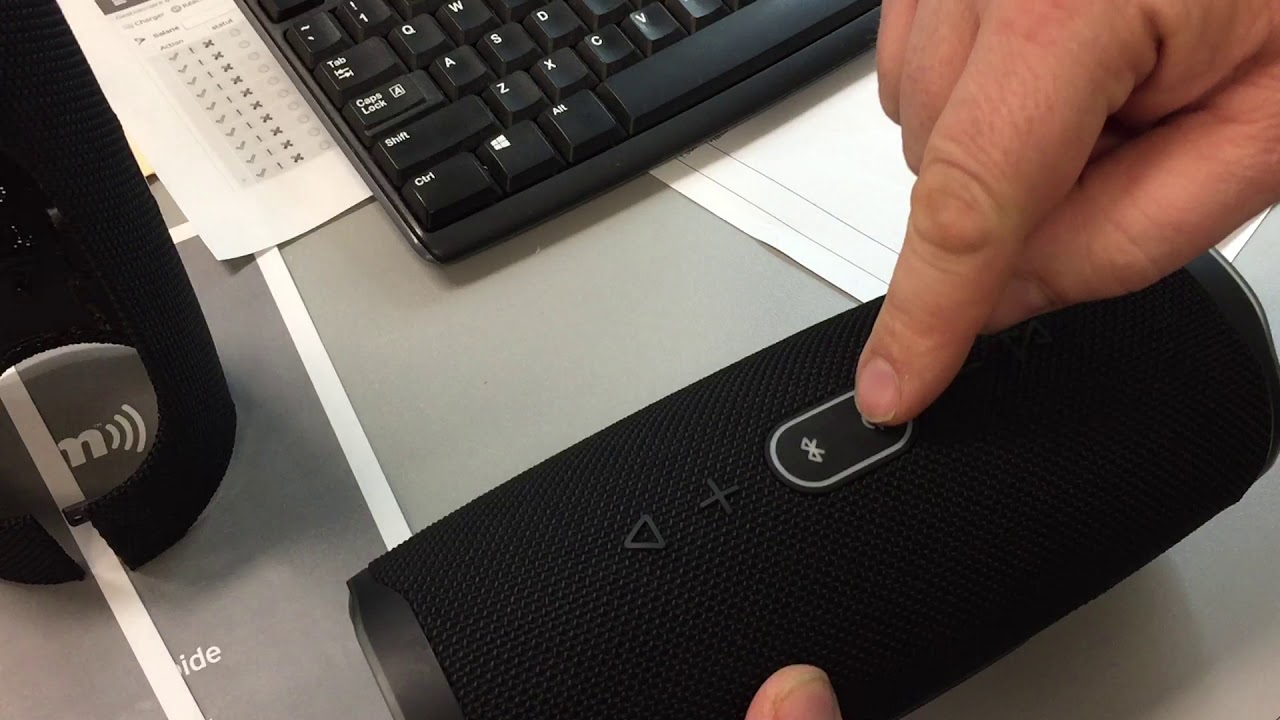
The Bluetooth Button: Connecting Wirelessly
Finding the Bluetooth Button
Look for the button with the Bluetooth icon (a stylized “B”). It’s usually located near the power button on the top panel.
Pairing Devices
- Initial Pairing: Press the Bluetooth button to enter pairing mode. The LED indicator will flash blue, signaling it’s ready to connect. Open your device’s Bluetooth settings, find “JBL Charge 4” in the list, and tap to connect.
- Reconnecting: Once paired, the Charge 4 will remember your device. Simply turn on Bluetooth on your device and the speaker, and they’ll reconnect automatically.
Multi-Device Pairing
- Switching Devices: The JBL Charge 4 can remember multiple devices. To switch between them, press the Bluetooth button to enter pairing mode, then select the desired device from your Bluetooth settings.
Volume Control Buttons: Fine-Tuning Your Sound
Identifying the Volume Buttons
The volume buttons are marked with “+” and “-” symbols and are situated on the top panel of the speaker.
Adjusting Volume
- Increasing Volume: Press the “+” button to raise the volume. Hold it down for a continuous increase.
- Decreasing Volume: Press the “-” button to lower the volume. Hold it down for a continuous decrease.
Tips for Optimal Sound
- Volume Memory: The speaker remembers the last volume setting, so it won’t blast at full volume when you turn it on.
- Equalizer Settings: Use your device’s equalizer settings to customize the sound to your liking.
Play/Pause Button: Controlling Your Music
Spotting the Play/Pause Button
The play/pause button is a circle with a triangle (play symbol) and two vertical lines (pause symbol). It’s located on the top panel, close to the volume buttons.
Managing Playback
- Playing Music: Press the play/pause button once to start playback.
- Pausing Music: Press the button again to pause playback.
- Skipping Tracks: Double-press the play/pause button to skip to the next track.
Handling Calls
- Answering Calls: If you receive a call while connected to your phone, press the play/pause button to answer.
- Ending Calls: Press the play/pause button again to end the call.
- Rejecting Calls: Press and hold the play/pause button for about 2 seconds to reject an incoming call.
JBL Connect+ Button: Expanding Your Sound
Locating the JBL Connect+ Button
The JBL Connect+ button features an hourglass-like icon and is found near the other buttons on the top panel.
Using JBL Connect+
- Pairing Speakers: Press the JBL Connect+ button on your Charge 4 and on another JBL Connect+ enabled speaker. They will sync up and play the same music simultaneously.
- Disconnecting Speakers: Press the JBL Connect+ button again to stop the multi-speaker connection.
Tips for Multi-Speaker Setup
- Optimal Placement: Place speakers around the room for an immersive surround sound experience.
- Device Control: Control all connected speakers from your primary device.
USB Charging Port: Powering Up Your Devices
Finding the USB Port
The USB port is located on the back panel, protected by a rubber flap to keep it waterproof.
Charging Devices
- Power Bank Feature: Connect your device’s charging cable to the USB port. Your JBL Charge 4 will act as a power bank, charging your device on the go.
- Battery Life: Keep an eye on the speaker’s battery level to ensure it has enough power to charge other devices.
Aux-In Port: Wired Connectivity
Locating the Aux-In Port
The Aux-In port is also on the back panel, next to the USB port.
Using Aux-In
- Connecting Devices: Plug one end of an Aux cable into your device and the other end into the Aux-In port on the speaker.
- Switching Modes: The speaker will automatically switch to Aux mode once the cable is connected.
LED Indicators: Understanding the Lights
Power Indicator
- Battery Levels: Different LED lights show how much battery is left.
- 1 light: Low battery
- 2-3 lights: Medium battery
- 4-5 lights: Full battery
Bluetooth Indicator
- Flashing Blue: Pairing mode
- Solid Blue: Connected
Understanding Additional Features
Waterproof Design
One of the standout features of the JBL Charge 4 is its waterproof design. Rated IPX7, it can be submerged in water up to 1 meter deep for 30 minutes. This makes it perfect for pool parties, beach outings, or just listening to music in the shower.
Durability
The robust build of the Charge 4 ensures it can withstand the rigors of outdoor use. The rugged rubber housing protects it from bumps and drops, while the durable fabric material covering the speaker grills ensures longevity.
Enhancing Your Listening Experience
Customizing Sound
While the JBL Charge 4 provides excellent sound out of the box, you can further enhance your listening experience by tweaking your device’s equalizer settings. Adjust the bass, midrange, and treble to suit your preferences and the type of music you’re listening to.
Placement Tips
Where you place your speaker can significantly impact sound quality. For the best audio experience:
- Elevate the Speaker: Place it on a raised surface to allow sound to disperse evenly.
- Avoid Corners: Position the speaker away from corners to prevent sound from getting trapped and distorted.
- Open Space: Use the speaker in open spaces for a more immersive sound experience.
Troubleshooting Common Issues
Speaker Not Turning On
- Check Battery: Ensure the speaker is charged.
- Reset: Press and hold the power button for 10 seconds to reset the speaker.
Bluetooth Connection Problems
- Re-Pairing: Forget the JBL Charge 4 in your device’s Bluetooth settings and re-pair.
- Interference: Move away from other Bluetooth devices to reduce interference.
Sound Issues
- Distorted Sound: Check the audio source for any issues. Lower the volume on your device and the speaker to prevent distortion.
- No Sound: Ensure the speaker is properly connected to the audio source and the volume is turned up.
Maintenance Tips
Keeping It Clean
- Surface Cleaning: Wipe the exterior with a damp cloth to remove dust and grime.
- Port Maintenance: Use a soft brush to clean the USB and Aux ports.
Battery Care
- Regular Charging: Charge the speaker regularly to maintain battery health.
- Avoid Overcharging: Disconnect the speaker once it’s fully charged to prevent battery degradation.
Frequently Asked Questions
Can I use the JBL Charge 4 while it’s charging?
Yes, you can use the JBL Charge 4 while it’s charging. This is particularly useful if you’re using it at home and want to keep the music going without worrying about battery life.
How do I reset my JBL Charge 4?
To reset your JBL Charge 4, press and hold the power button for 10 seconds until the speaker powers off. This can help resolve issues like unresponsive buttons or connection problems.
Can I connect multiple JBL speakers together?
Yes, you can connect multiple JBL speakers using the JBL Connect+ feature. This allows you to pair more than 100 JBL Connect+ enabled speakers